Start – Cleaning Album Jackets – Conclusion: Preferred Method
I recently unboxed my old vinyl album collection. I was delighted to find that some of the albums were in exceptional condition. Unfortunately, a few of my favorite albums were in very bad condition. I decided to try to clean the vinyl discs myself. After researching some expensive cleaning systems, I opted to clean my records manually and I was able to salvage some of my favorite albums. The materials I needed were inexpensively sourced including:
- Microfiber cloths
- Distilled water
- Spray bottle
- Groovewasher G2 Record Cleaning Fluid
- Velvet Record Cleaning Brush
- Clean Dish towels
- Inner record sleeves
I knew that working on a vinyl record was a delicate operation, so I took precautions to protect the record. I laid down a clean dish towel on the floor to use as my work surface. I then carefully placed the vinyl record on the towel. I then filled my spray bottle with distilled water.
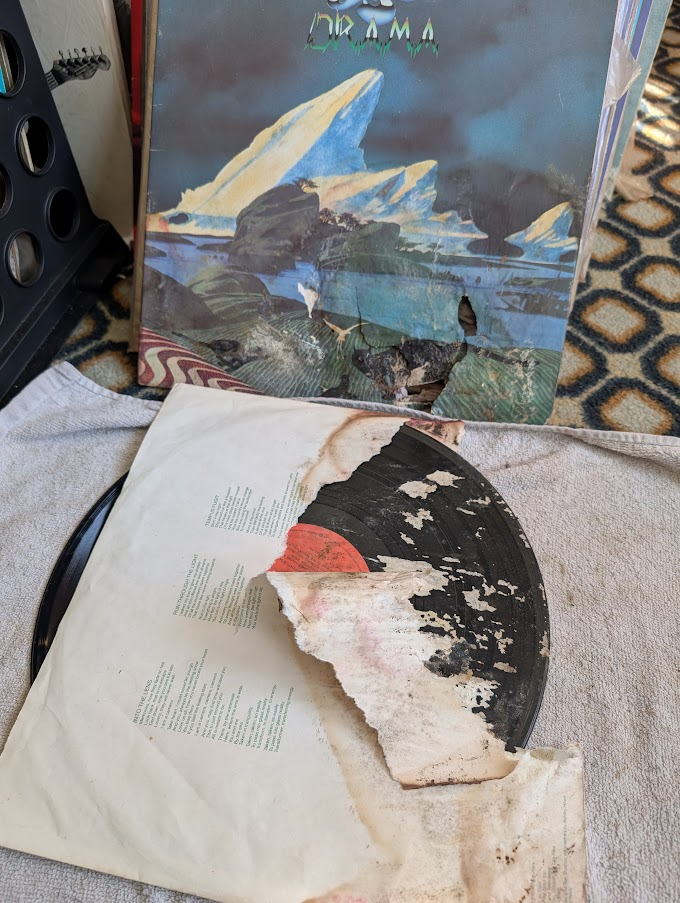
I selected a record from 1980 which suffered sleeve and record damage. The paper from the sleeve rotted and transferred to the vinyl. I almost considered this beyond repair.
If the paper is strongly bonded to the vinyl record, it might take multiple spray applications of distilled water to loosen and soften the material. Each time you spray the water on, you can try lifting the paper again. Do this until the bond is loosened enough that the paper will release.
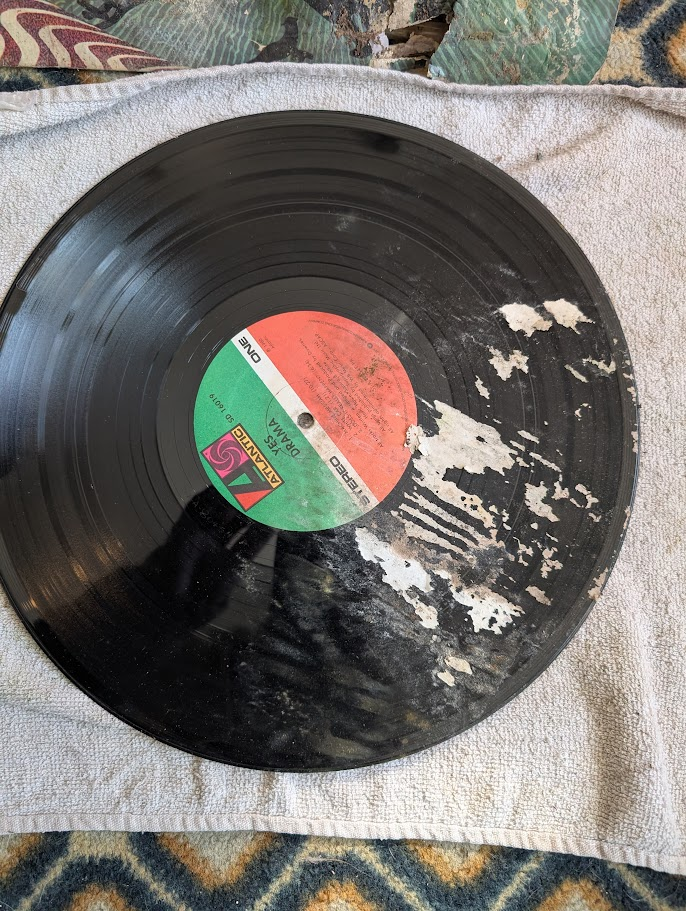
I carefully sprayed distilled water from my spray bottle onto the record, avoiding the center label. After a few seconds, I gave the record a firm wipe with a microfiber cloth, following the groove pattern. The microfiber cloth was the right size to clean the entire record surface, and it didn’t get caught on the label. This successfully removed the larger debris from the surface of the vinyl. The next step will give it a more detailed cleaning.
After applying the record cleaning spray, I wiped the record firmly with a microfiber cloth. I followed the groove pattern in a circular direction around the entire record. I found that this method worked best for me, but you may want to experiment to find what works best for you.
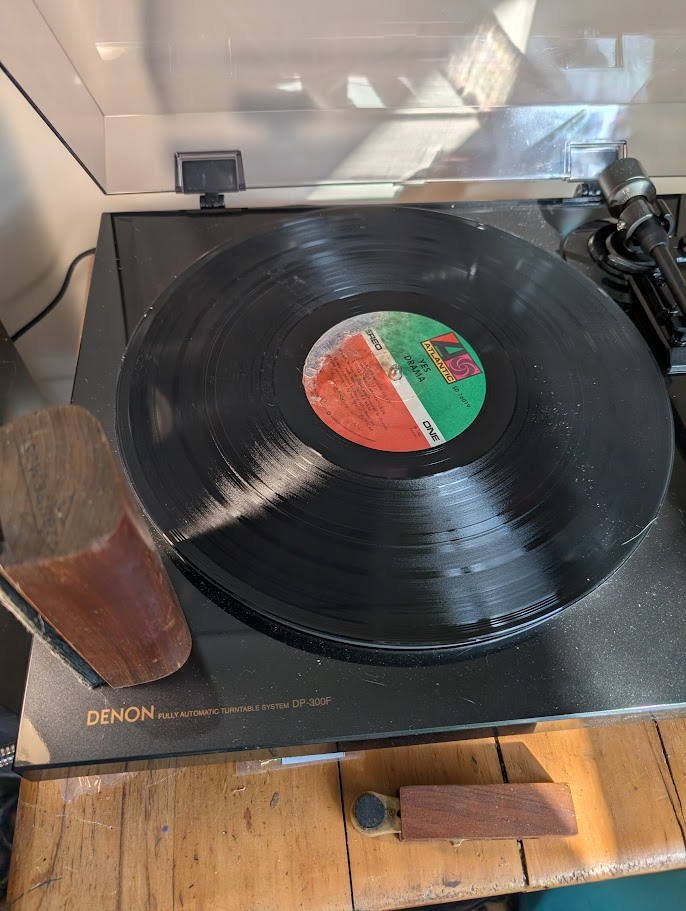
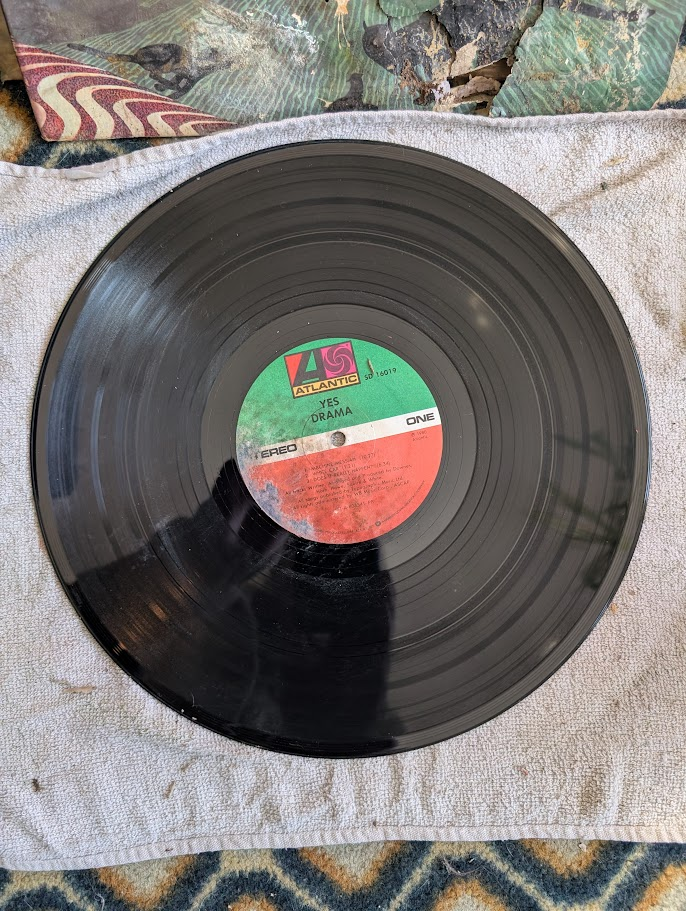
On the turntable, I gave it a final clean with my record brush and then played my refurbished vinyl record!
The record cleaning process did its job. The result is not bad at all. The cleaned vinyl doesn’t sound brand-new, but it plays well and sounds infinitely better than before. All the dirt, dust, and debris are gone, and I was able to play the album without any skips or pops. It’s certainly listenable now, and I’m glad to say that I still consider it a favorite among my vinyl records.
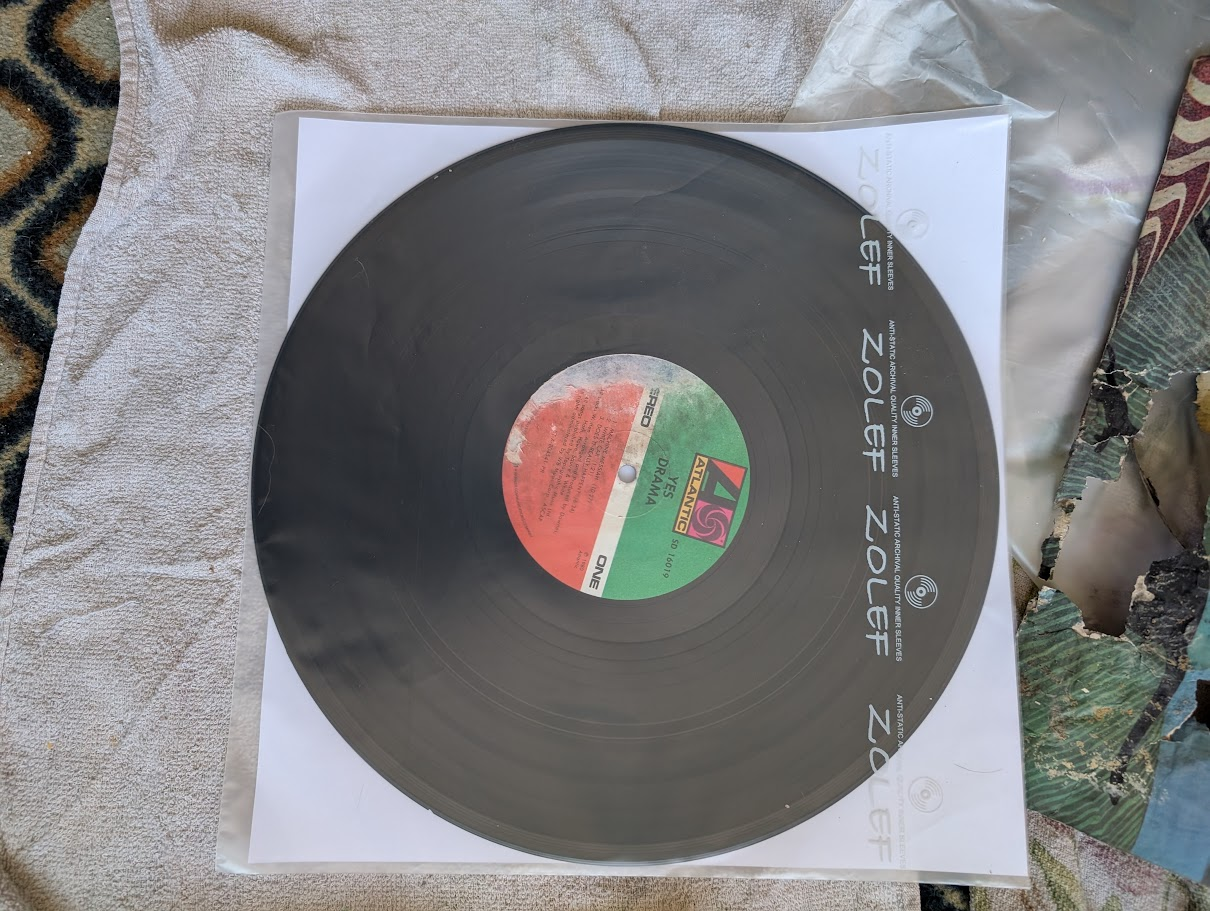
Considering the condition of the album jacket and inner sleeve, I decided to store my newly cleaned album in a new inner sleeve. This will protect my album for years to come!
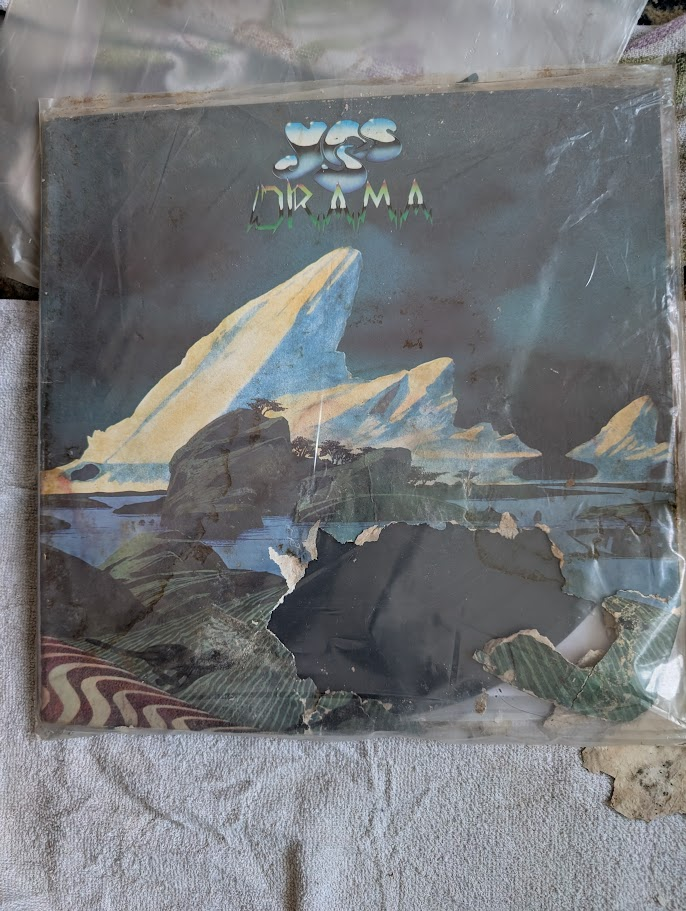
The final step in my process was to store the old printed inner sleeve in the record pocket and use the gatefold album cover to store the newly sleeved clean record. I then slid everything into its plastic outer sleeve.
Conclusion: Preferred Method
The best cleaning procedure I found is to simply spray distilled water on the vinyl. DO NOT get the label wet! Then, wipe the vinyl with a microfiber cloth, following the groove pattern. If your record has paper that has transferred to the vinyl, spray the record a few times with distilled water. Let the water soak into the paper, and then gently wipe it off. The paper should easily come off.
Cleaning Album Jackets
When cleaning a vinyl record, the record itself isn’t the only thing that needs attention. Cleaning an album jacket is a more delicate process than cleaning the record itself. The paper of the album jacket can be fragile and liquid cleaners could cause more damage. This is why you shouldn’t spray liquid cleaners directly onto the album jacket. The best way to clean the album jacket is to dampen a clean microfiber cloth with a few sprays of Simple Green All Purpose Cleaner and then gently wipe the album cover.